How to perform bank reconciliation in Metro Accounting System?
In Metro, performing bank reconciliation in the Accounting module involves matching your bank statement lines with the corresponding accounting entries (like customer payments, supplier bills, etc.). Here’s a step-by-step guide to help you through the process:
1) Go to the Accounting Module. By clicking on the 'Accounting' application.

2) Go to the Accounting Dashboard, Click on the link to learn how to download your OCBC, YouBiz, DBS-IDEAL and UOB bank statement.
Next Click on "Import" bank statement to import your bank statement.

3) This action will open a popup to import your bank statement. Select the corresponding bank template and upload the file.
Import or Create Bank Statements
There are two ways to get your bank statement into Metro:
Option A: Import
-
Go to Accounting > Bank (select your bank journal)
-
Click on Import Statement
-
Upload the file (CSV, OFX, QIF supported formats)

4) Now, you need to click the 'Post' button to initiate reconciliation.

5) Next, click on the "Reconcile" button.

6) Next, Click on the Validate button.
Once all transactions are matched, validate the reconciliation.

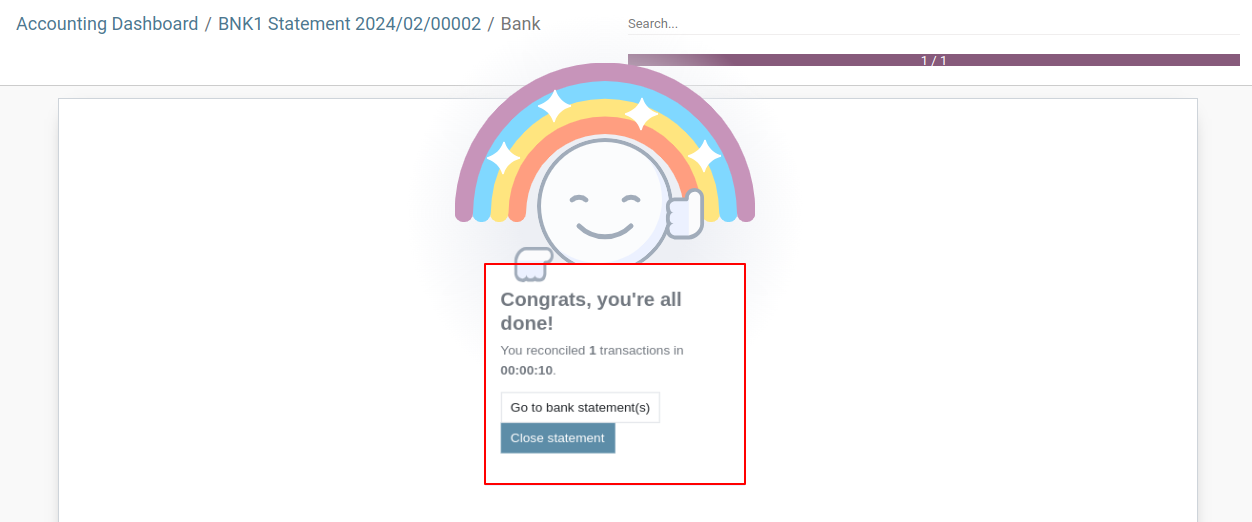
7) Finally, you will see the congratulatory screen.
8) Now Go to “ Journal items ” to view all the journal items created for the imported bank statement.


9) Option B: Manual Entry
Go to Accounting > Bank Statement

10) Click on Create to manually enter the bank statement lines (date, label, amount, etc.)

11) Now, you need to click the 'Post' button to initiate reconciliation.

12) Next, click on the "Reconcile" button.

13) Next, Click on the Validate button.
Once all transactions are matched, validate the reconciliation.

14) Finally, you will see the congratulatory screen.

15) Now Go to “ Journal items ” to view all the journal items created for the bank statement.


To get more details on performing bank reconciliation in the metro accounting App, please do contact us at support@metrogroup.solutions